 "
"
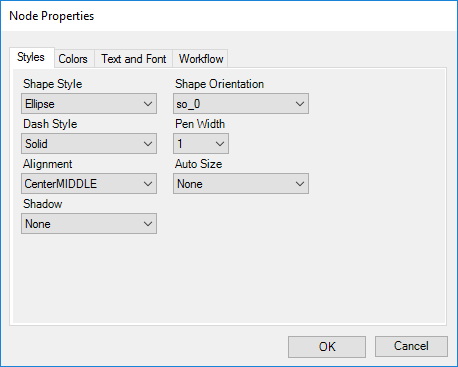
- Select a new shape from the Shape Style list. Different shapes can visually distinguish the start and end points in your workflow from other processing steps. You may also want to assign a different shape to hidden statuses.
- Select a Dash Style. The object's outline will change to the one you select from the list.
- Change where text is located on the object by selecting a different location from the Alignment list.
- If you wish to display your object with shadows, select the orientation of the shadow to the object from the Shadow list.
- If you wish to rotate your object, select the rotation angle from the Shape Orientation list.
- To adjust line thickness, select a Pen Width.
- To automatically resize the object, select a value from the Auto Size field.
 "
"
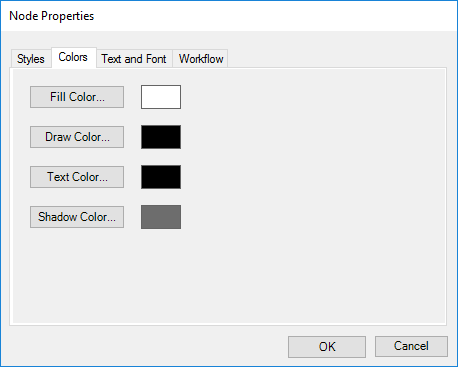
On the Color tab you can make the following color adjustments:
- Click Fill Color... to select the object's fill color. (Not applicable for Link Properties)
- Click Draw Color... to select the object's outline color.
- Click Text Color... to select the font color.
- Click Shadow Color... to select the shadow color. (Not Applicable for Link Properties)
 "
"
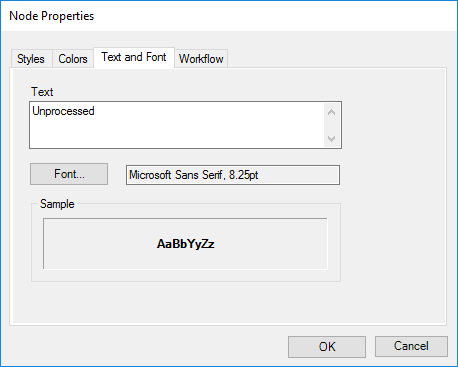
From the Text and Font tab you can control the look and size of text displayed in the Designer.
- Make changes to object text directly from the Text field.
- To change fonts and font size, highlight text in the Text field and click the Font button to open a standard Windows Font Dialog. A sample of the modified text will display in the Sample box.
 "
"
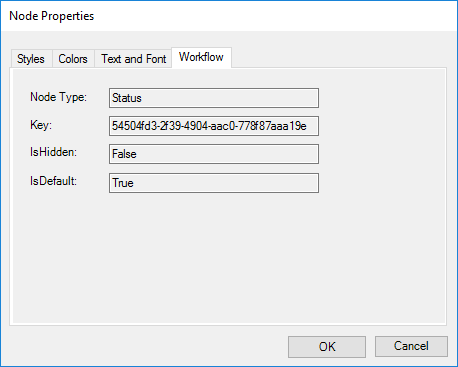
The Workflow tab displays key workflow characteristics for information only (this tab is not available from Link Properties). Changes cannot be made from this tab but must be made from the Workflow Explorer. Click OK to save and exit the Node Properties dialog.
