Index Print to DocLink Files
When DocLink recognizes a new print spool file and auto-check for print jobs is enabled, you will be prompted to manually index the document when a new document is found:
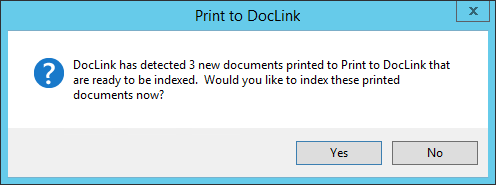
- Select Yes to open your Print to DocLink print job in the viewer and manually index it. If there is more then one document, you will be prompted to select the file, or files, you wish to index.
- Select No to return to the main DocLink Smart Client window.
To index this print job at a later time:
- Open the DocLink Smart Client.
- Go to the Index menu and select Index Printed Documents...
- Select the Print to DocLink printer from the local printers list.
- Highlight a print job from the grid and press OK.
- The Indexing window and the viewer open.
Use the resize and rotate options in the viewer to enlarge the image so you can easily read information off your document.
- Index and save your information.
To delete the print job without indexing it, Go to the Index menu and select Index Printed Documents...
- Select the Print to DocLink printer from the local printers list.
- Highlight a document from the grid and press Delete.
Index the Print Job at a Later Time
When DocLink recognizes a new print spool file and auto-check for print jobs is enabled, you will be prompted to manually index the document when new document is printed:
- Select No to return to the main DocLink Smart Client window.
- Go to the Index menu and select Index Printed Documents...
- Select the Print to DocLink printer from the local printers list.
- Highlight a print job from the grid and press View/Index.
- The Indexing window and the viewer open side-by-side.
- Index and save your information.
